Today's sewing project, as promised is for your curling iron, straightener or similar gadget. My idea for this project came about after repeatedly pulling out, in a mess of cords, my curling iron and hair dryer. To organize this particular cabinet in my house I wanted to create a cover that would work for storing my curling iron and being able to throw it in my suitcase for travelling.
Materials:
Fabric (2 coordinating fabrics - 1 for outside, 1 for lining)
Fleece, Felt or Old mattress cover
Ribbon
Bias tape (preferably extra wide)
Matching thread
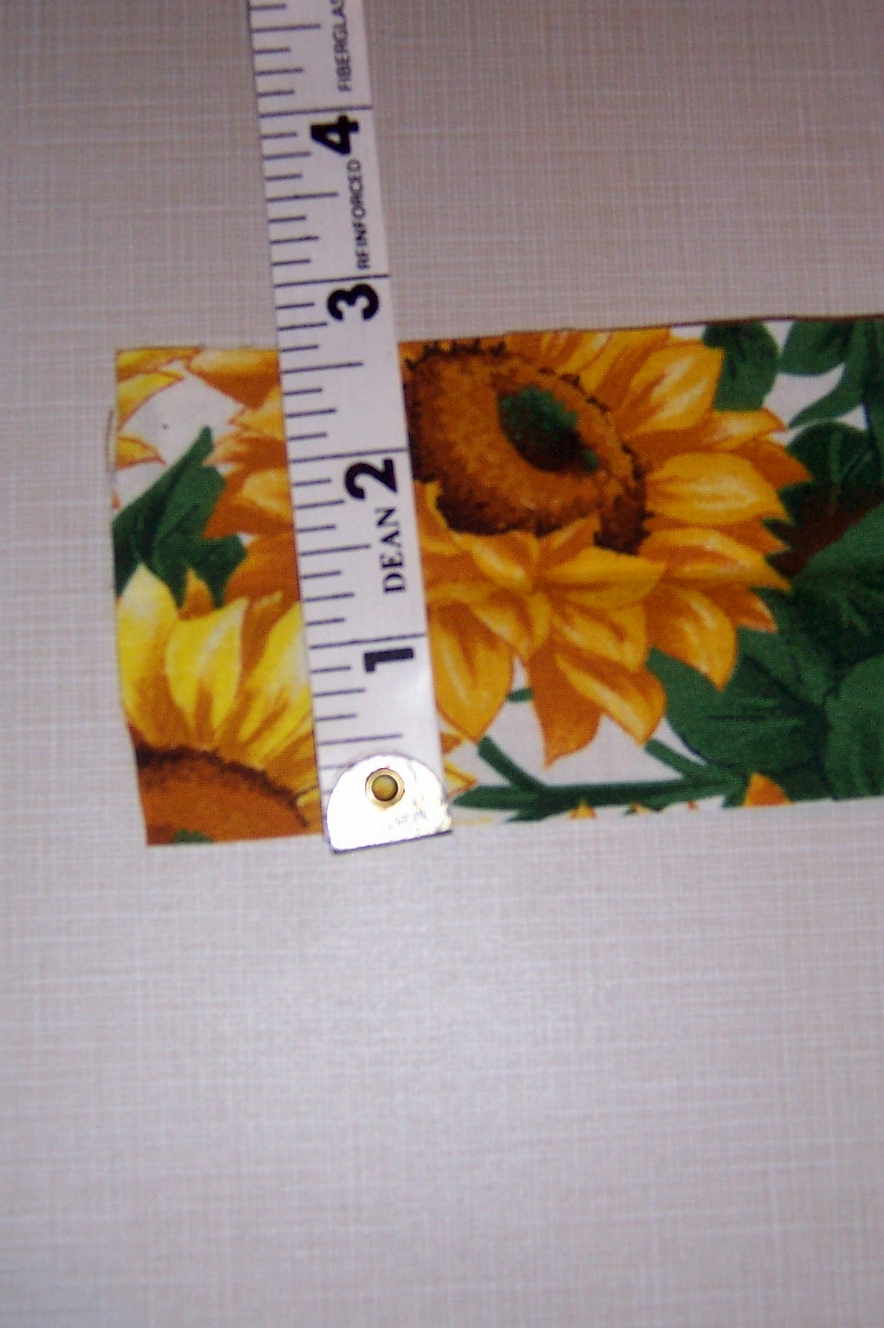
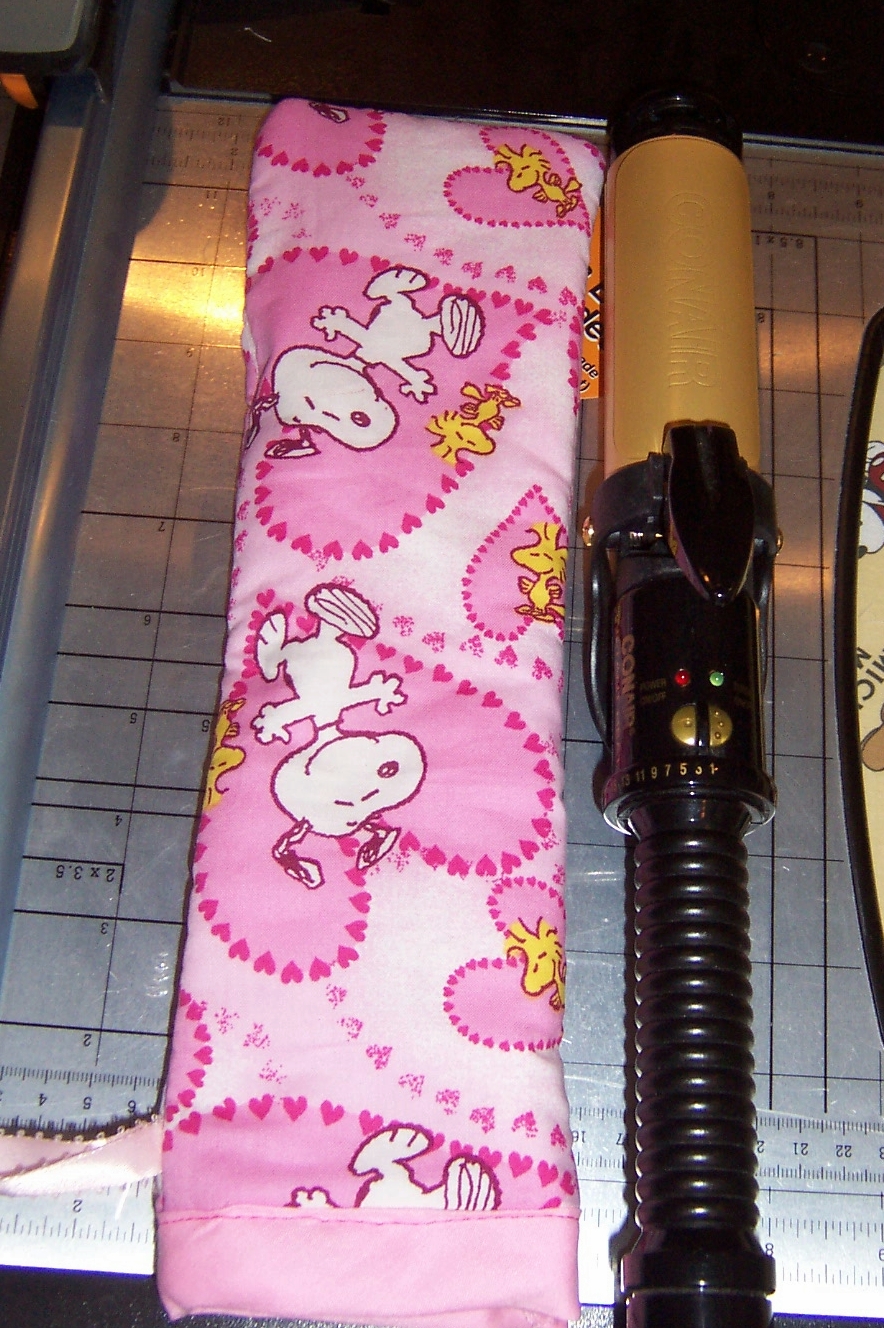
Measurements for my curling iron 13in long and 3in wide (at widest point)
Finished product: 14in long and 4 1/2in wide
All seams are 1/4in
Instructions:
1. Measure the length and width of your curling iron or straightener. Add 3-4 inches to the width, this will make sure you have adequate space to place your curling iron in when the project is finished. You do not want it to be small or narrow, otherwise you will have difficulty placing your curling iron inside. Note: You may want to trace pattern then place curling iron on one side and place second piece of fabric over, taking into account the thickness of the fleece, if you are unsure how much space to you will have.
2. Trace and cut 2 pieces (each should be a rectangular shape) of outside fabric and 2 pieces of inside lining fabric. Cut 2 pieces of fleece or mattress cover (this will add padding and if your curling iron is hot when you travel this should prevent items from melting or otherwise burning).
3. Add the width measurements together, with 1/4 to 1/2 inch extra and measure bias tape. Cut.
4. Fold electrical cord together (as if to tie together) and measure width. Double this measurement (or triple if you want more ribbon to tie the cord together). Measure ribbon desired length and cut.
5. Iron any fabric pieces together if desired.
6. Place fleece on wrong side of lining, then place wrong side of outside fabric to the opposite side. Repeat for other piece. Pin in place.
7. Fold ribbon in half, wrong sides together. Place folded edge about 1 1/2 to 2 inches from top of one of the outside fabric pieces. Make sure the folded edge is along the long (length) side. Pin along edge. Fold rest of the ribbon in the center of the piece and pin, so to avoid sewing and other part of the ribbon.
8. Put both pieces together, outside fabric pieces together. Lining fabric facing you, on both sides. Pin in place.
9. Sew one long side together. Unpin.
10. Open up piece. Attach bias tape to the top. Sew.
11. Place outside fabric pieces together again. Finish sewing other 2 edges.
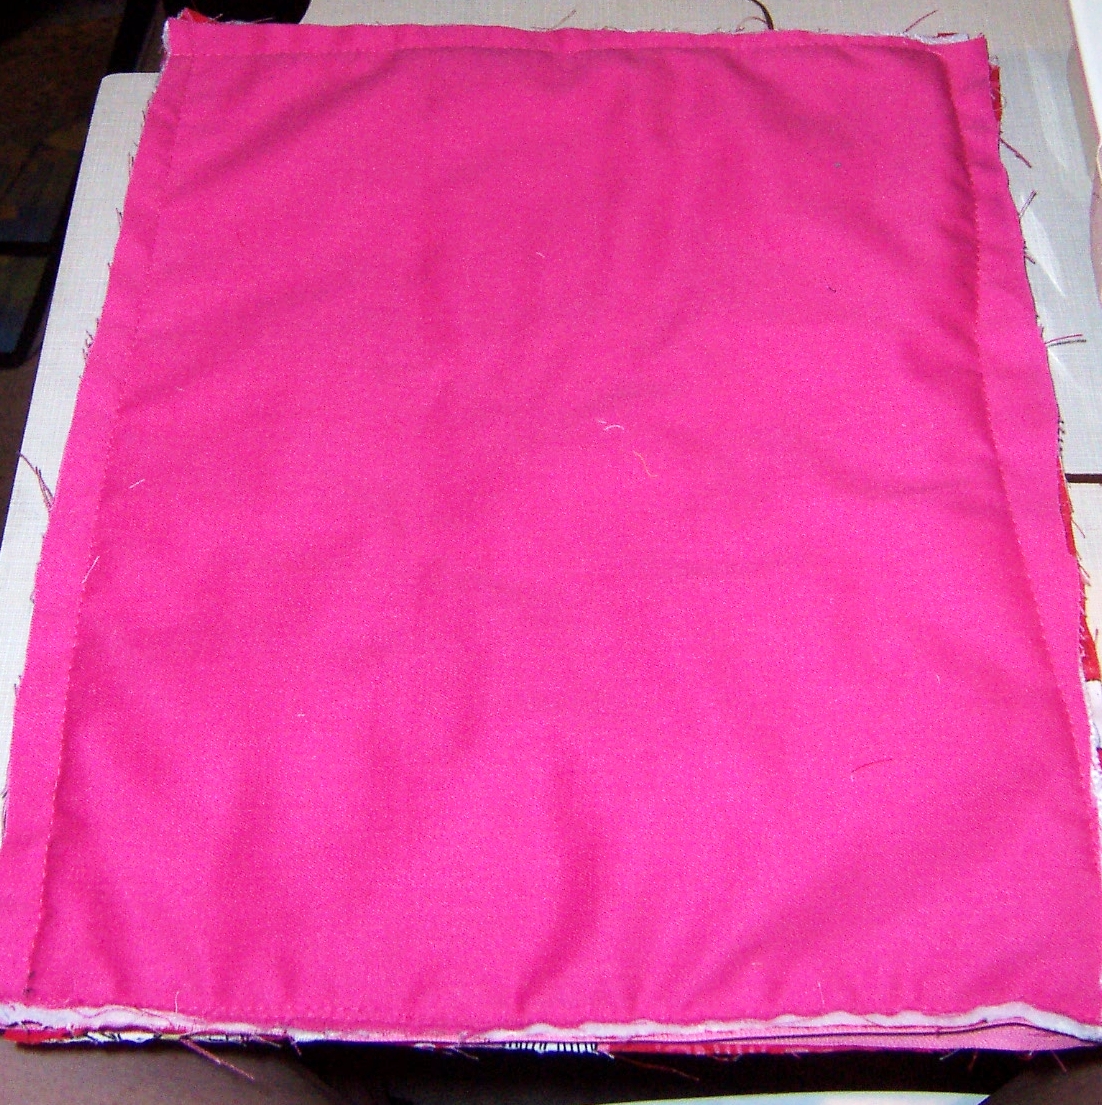
12. Remove pins and turn right side out.
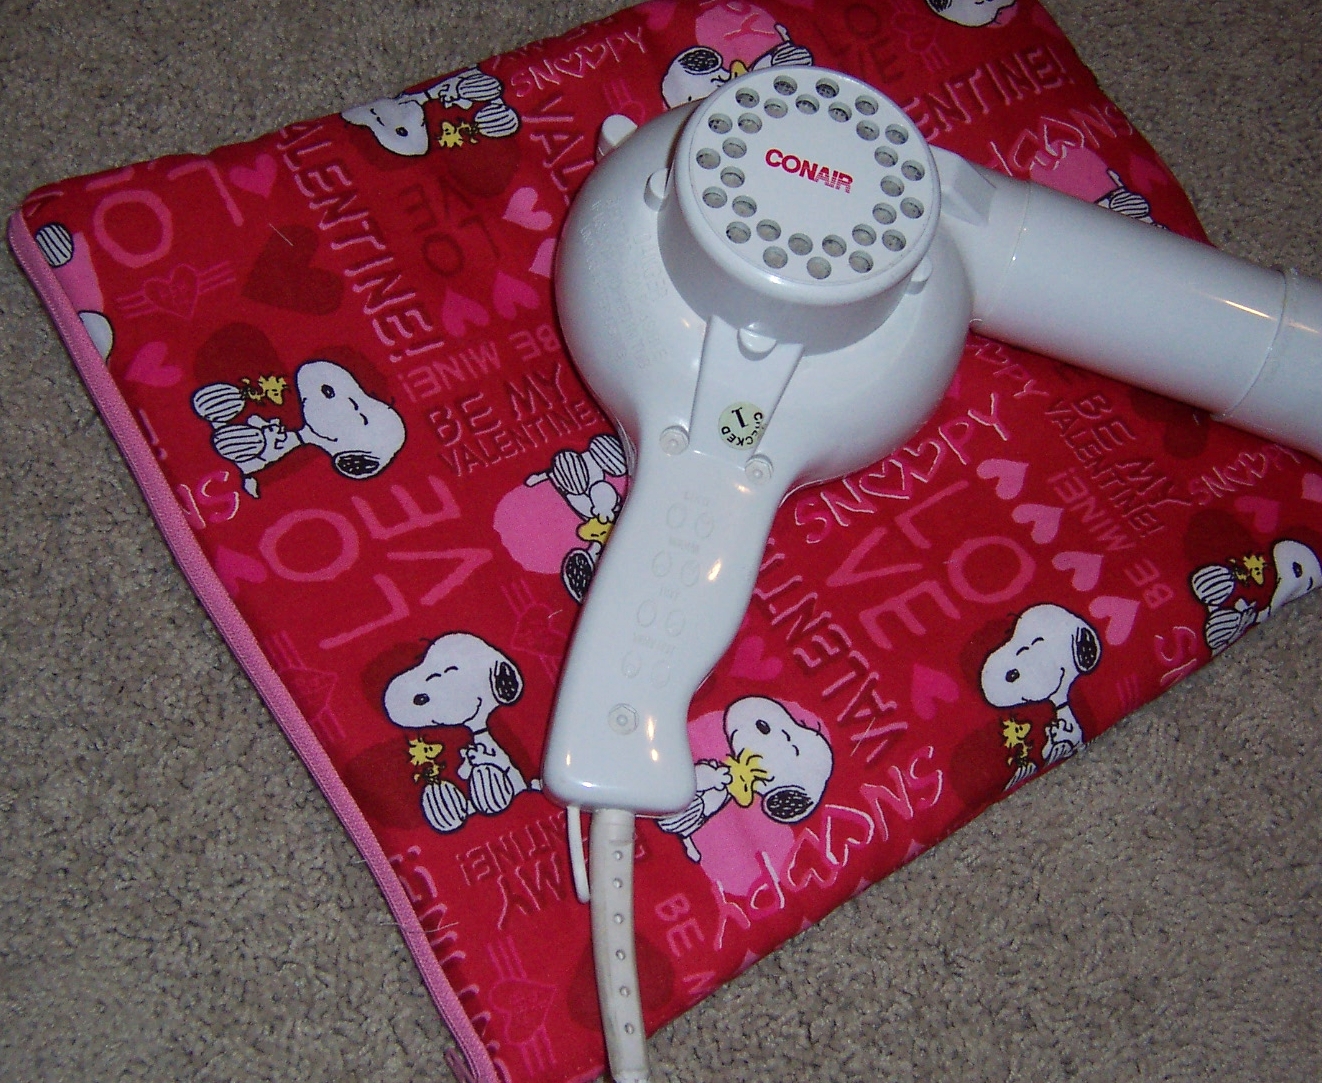
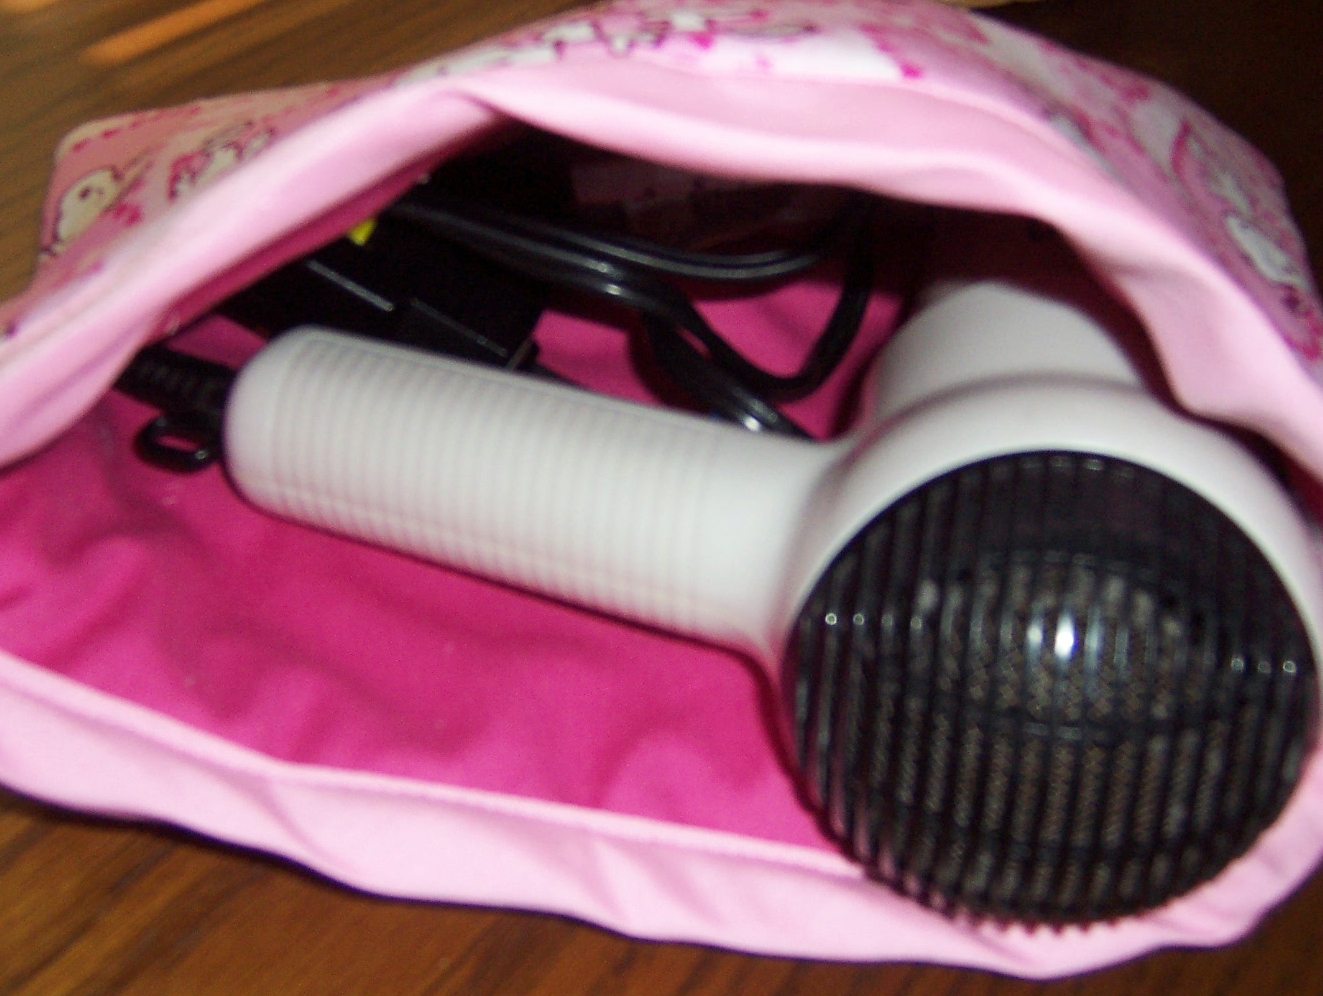
You are finished. Place your curling iron inside, tie electrical cords together and you are ready to store or travel with your piece.
 |
| I used an old mattress cover for the padding |
 |
| Step 3 |
 |
| Step 6 |
 |
| Match the patterned pieces of fabric before placing together |
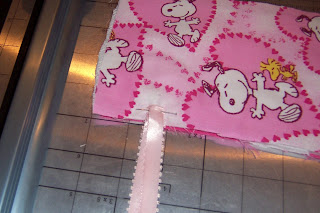 |
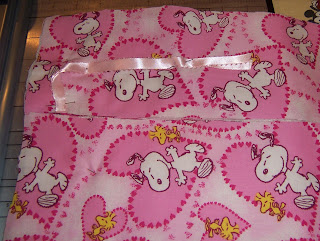
| WRONG way to pin ribbon to fabric |
 |
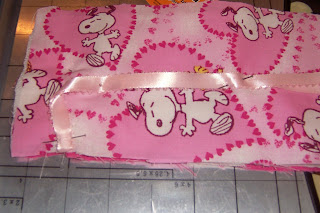
| Step 7: Right way to pin ribbon to fabric |
 |
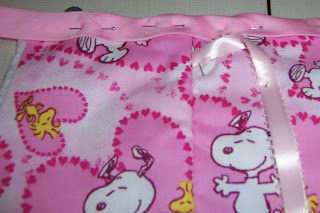
| Step 7 continued |
 |
| Step 10 |
 |
| Step 10 continued |
 |
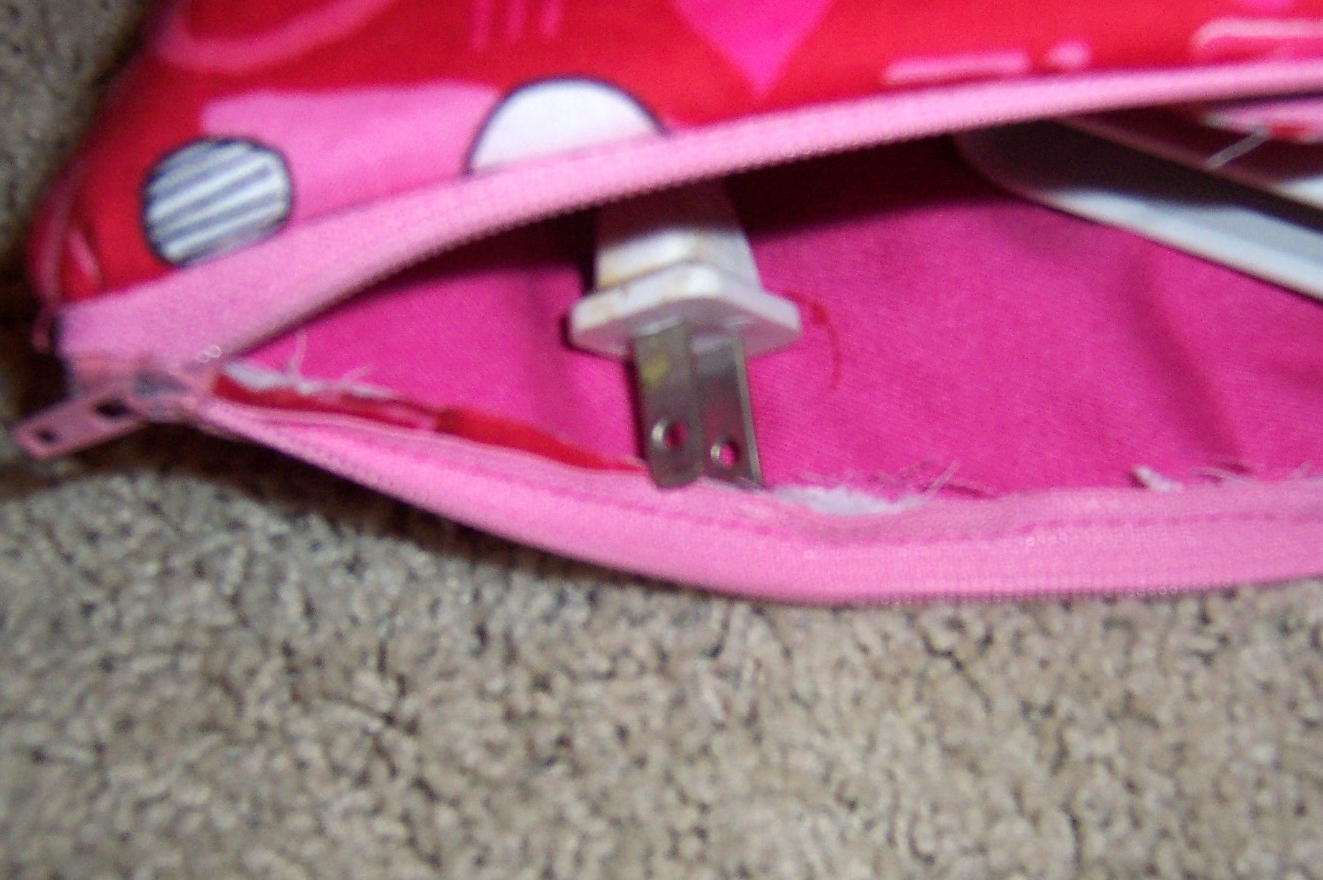
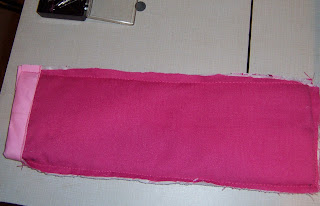
| Step 12 |
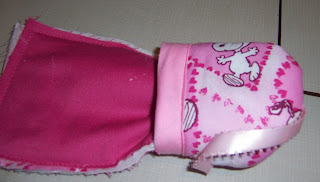
 |
| Finished product |